View Dilatometry Brochures Dilatometry Accessories Request a Quote
Heating Microscopy is a method for the thermo-optical analysis of materials. Its key benefit is the ability to continuously observe and record a full image of a sample as it is being heated. The optical dimensional shape analysis of the sample yields information about the expansion, sintering and melting behavior of a wide range of materials that would otherwise not be available with other thermoanalytical methods. Onset and end temperatures of softening, sintering, and melting of the sample material as well as flow behavior, contact angels and surface tension at high temperature can be extracted with the image analysis software.
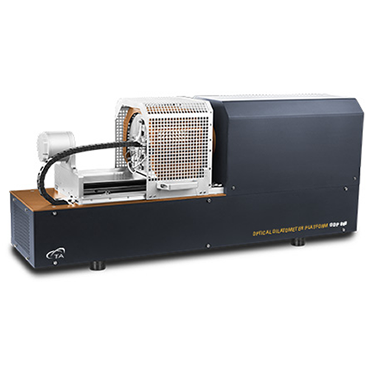
The heating microscope HM867 features a motorized high-resolution camera system, which records a complete image of the sample against an illuminated background. Two configurations of high-temperature furnaces allow analysis up to 1600°C in air, or up to 1400°C in a vacuum-tight configuration for measurements in various atmospheres. Samples are measured optically in the absence of external forces, which simulates typical processing conditions in sintering and casting of ceramic and metal materials to their melting points and beyond.
The versatile Misura software suite allows automatic detection of characteristic points, such as the onset of sintering or the melting point of a sample, and it enables the automated creation of measurement reports from this data. A wide range of data can be analyzed, ranging from a volumetric expansion measurement based on the sample cross-section to the horizontal and vertical dimension of a sample or the contact angles of a molten drop. Productivity in the lab is multiplied by being able to measure up to 8 samples simultaneously, which can be recorded and evaluated in fully independent measurements. The HM867 is the ideal tool for firing process optimization in ceramic industry and for metal additive manufacturing processes.


